Products can be used to bundle a range of assets from any connector type or source regardless of whether the assets are at source or on platform.
There are two options to initiate this process:
-
Go to My Collection on the Navigation bar
-
Click on the +New button at the top left
-
Select Product
The second way to do so is:
-
Go to Manage on the Navigation bar
-
Select Products
-
Click on the Create Product button on the top right
Once you have entered a Product name a Product is created on the Platform in a DRAFT state.
A Subscription Plan must be added to the Product to enable to be released in a LIVE state. This is the only step that is mandatory for the successful release of a Product. The remaining five steps, as detailed below, are optional.
Assets
You can add one or many Assets to your Product. Alternatively, you can release the Product without any Assets contained, so it functions somewhat like a ‘shell’ on the Exchange.
Note: To add an Asset to a Product you must first create an Asset.
-
Click on Add Assets
-
Filter and select all Assets that you would like to include in or remove from this Product.
-
An Asset can be added to many Products.
-
Further assets can be added at a later date,
-
-
Select Confirm Selection
-
If any Asset within the Product is configured to update, you can choose to automatically update the Last Refresh date for the Product to be the date of the last Asset update for any contained Asset.
A maximum of 50 Assets can be added to a Product.
Product Packaging
Add product visuals, text and categories to help customers discover your Product.
-
Click on Add Packaging
-
Icon - Upload or auto generate a small Icon for your Product
-
Product Header Image
-
Exchange Tile Image
Note: For customers who would prefer not to use tile images at all, it is now possible to use our new UI customization to set all product cards to use: Product icon or No tile image or icon
-
Display name
-
Summary text
-
About this product section
-
Refresh frequency - Provide an indication of how often the data within the Assets contained within your Product will be updated. This is metadata and is not used to initiate any updates.
-
Category tags - select from a pre-defined list which can be used by a Data Consumer to locate your Product when browsing the Exchange.
-
Metadata
Adding Metadata
Data products also have a capability to have and display Custom Metadata that is visible in the exchange. One or more key/values pairs can be added, with the ability to be removed or edited at a later stage if required. Once saved, the product must be released for any changes to be visible.
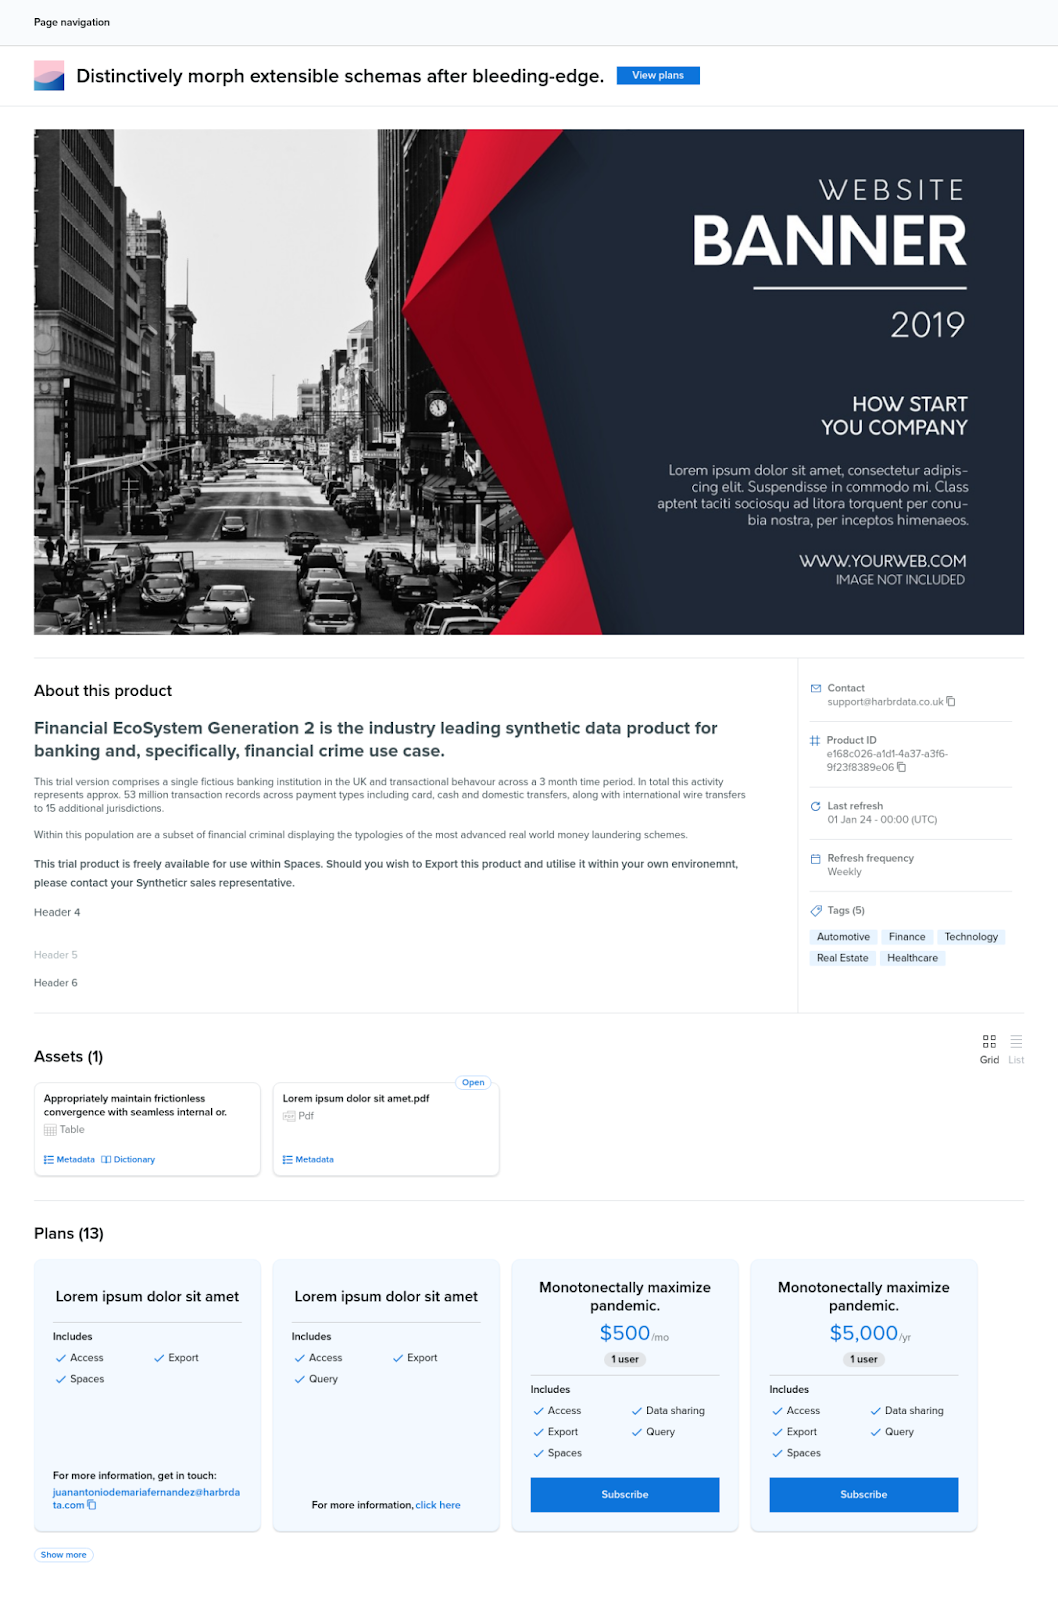
Once Custom metadata is added to a product, it will displayed be displayed on the right side of the Product page under information relating to contacts and tags. Custom metadata may relate to data quality, completeness, sensitivity or AI-readiness.
Note: Ecosystem Admins can enforce default custom metadata fields and values that are standardized across the ecosystem. These are automatically added whenever custom metadata is set for a Product.
Subscription Plans
Product Subscription Plans govern how subscribed users can consume the Product as well as dictate any usage Terms and Conditions or pricing that may apply. For further information on their configuration and application, see here. Similarly, see here for further information on Product Terms and Conditions.
-
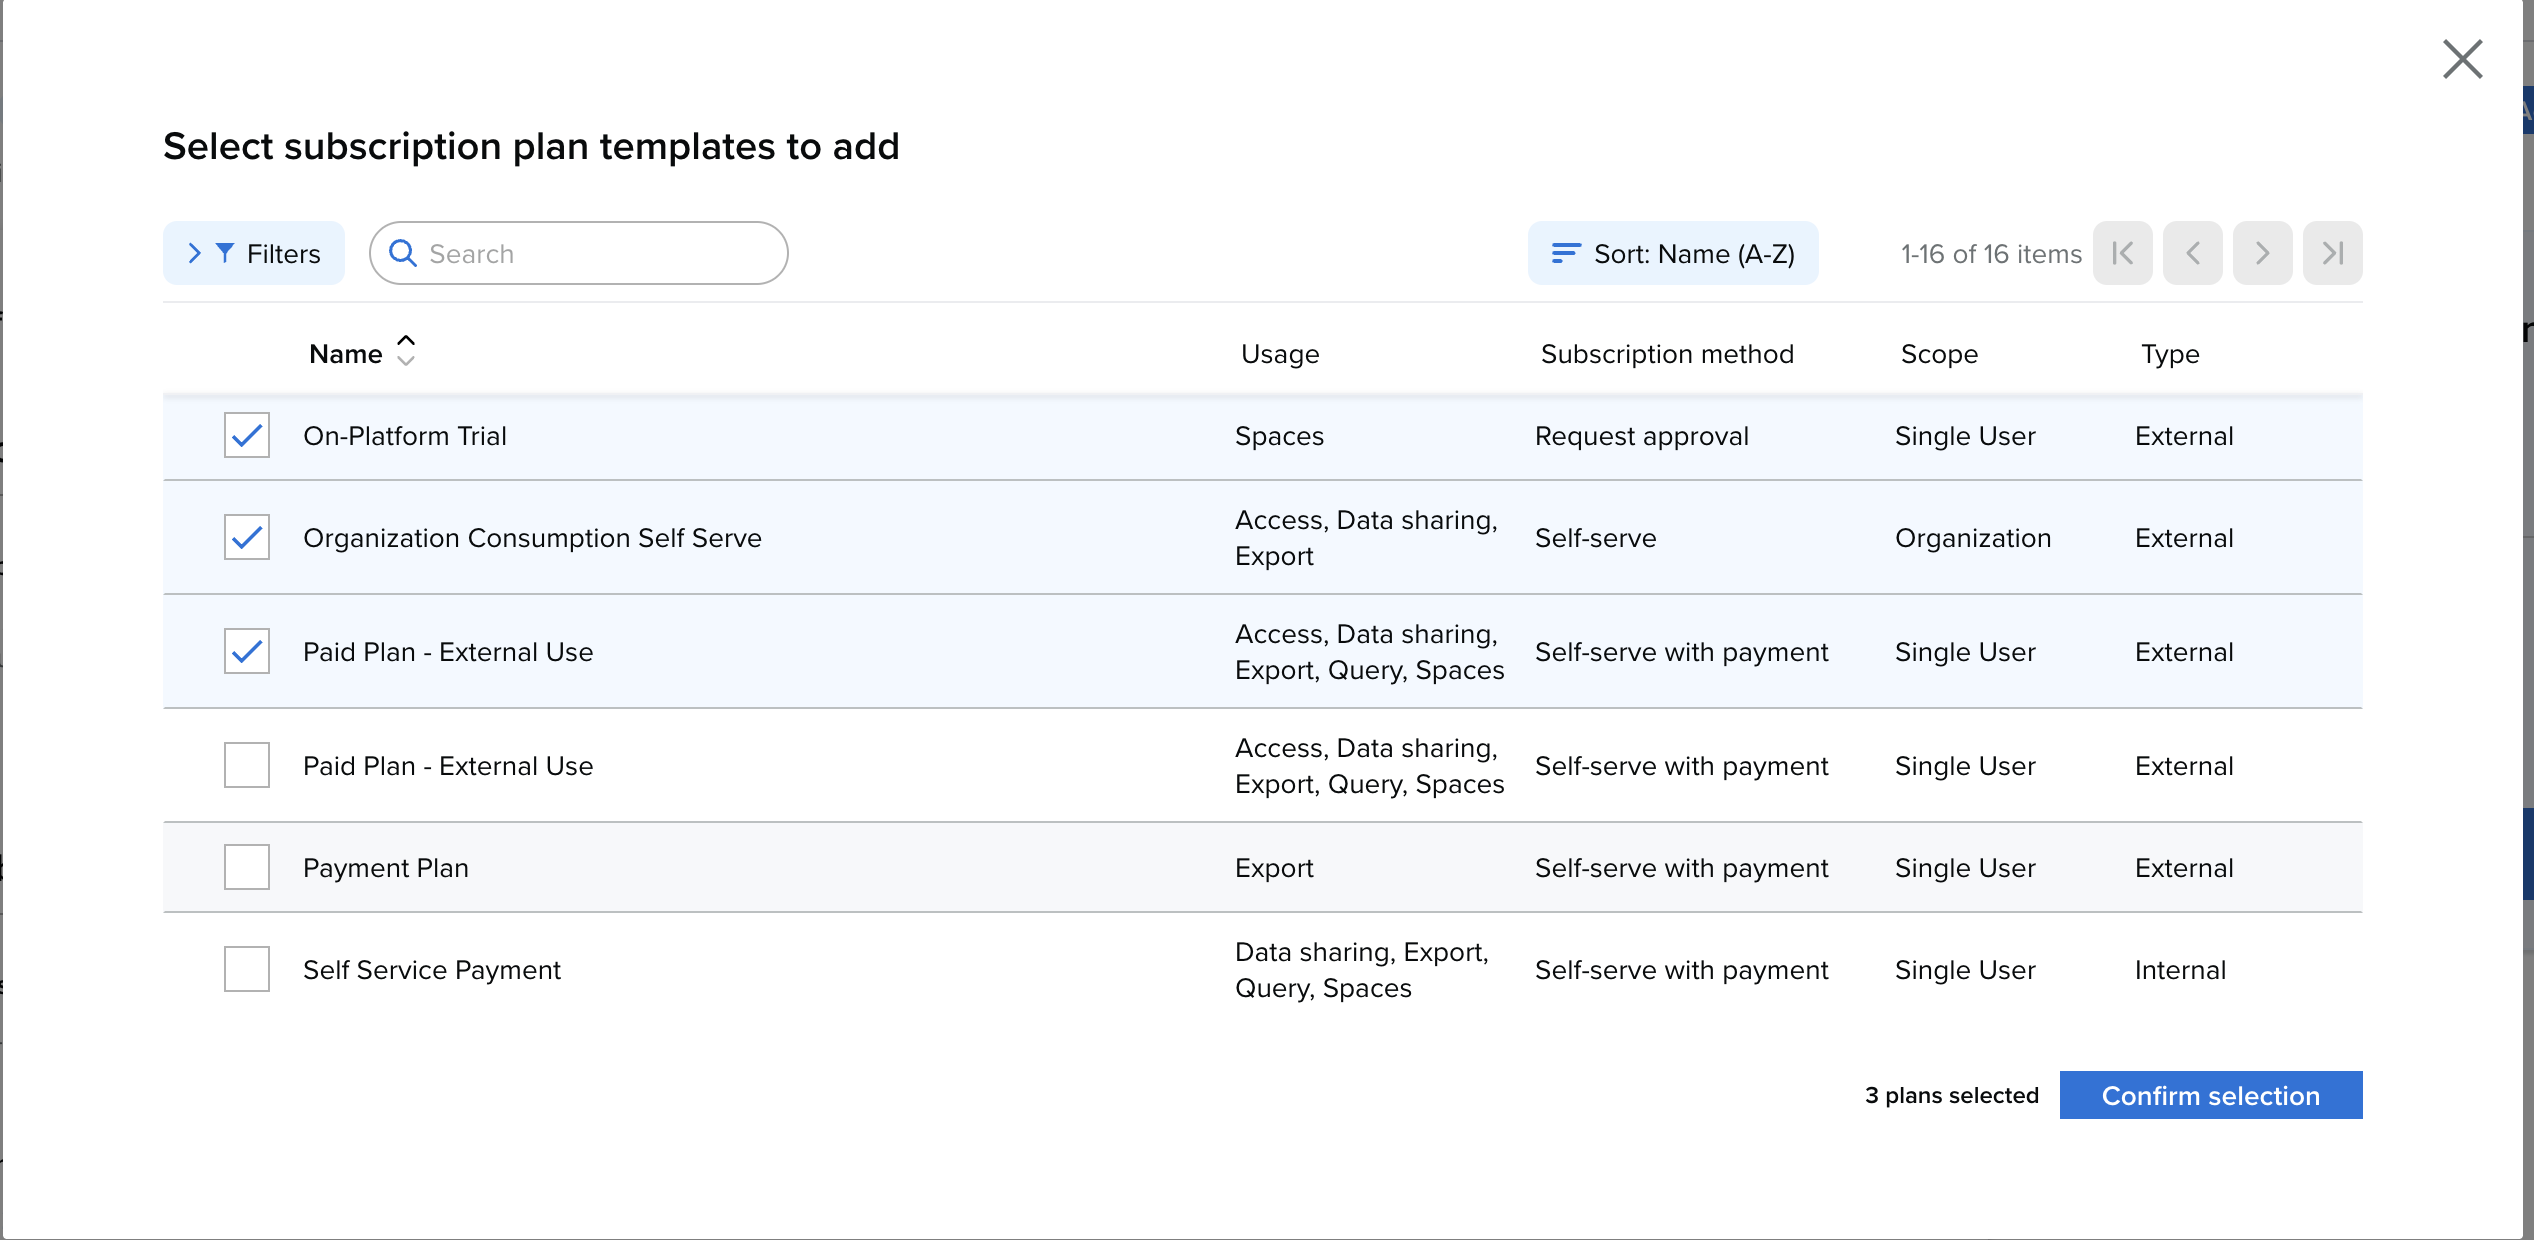
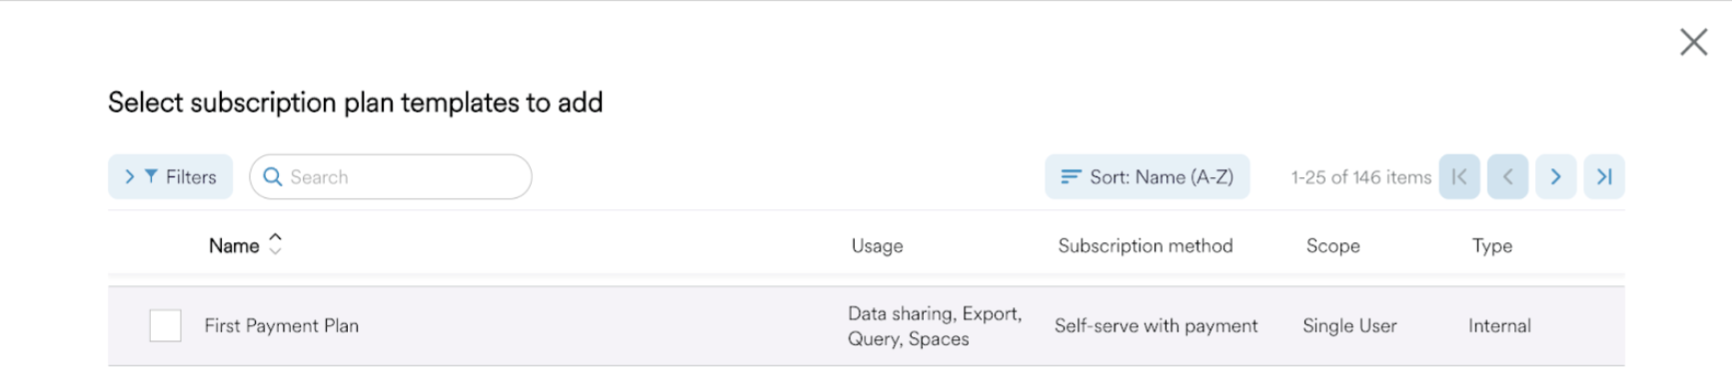
Click on Add Plans

-
Select One or more Plans from a pre-defined list to be made available for Consumer to select
-
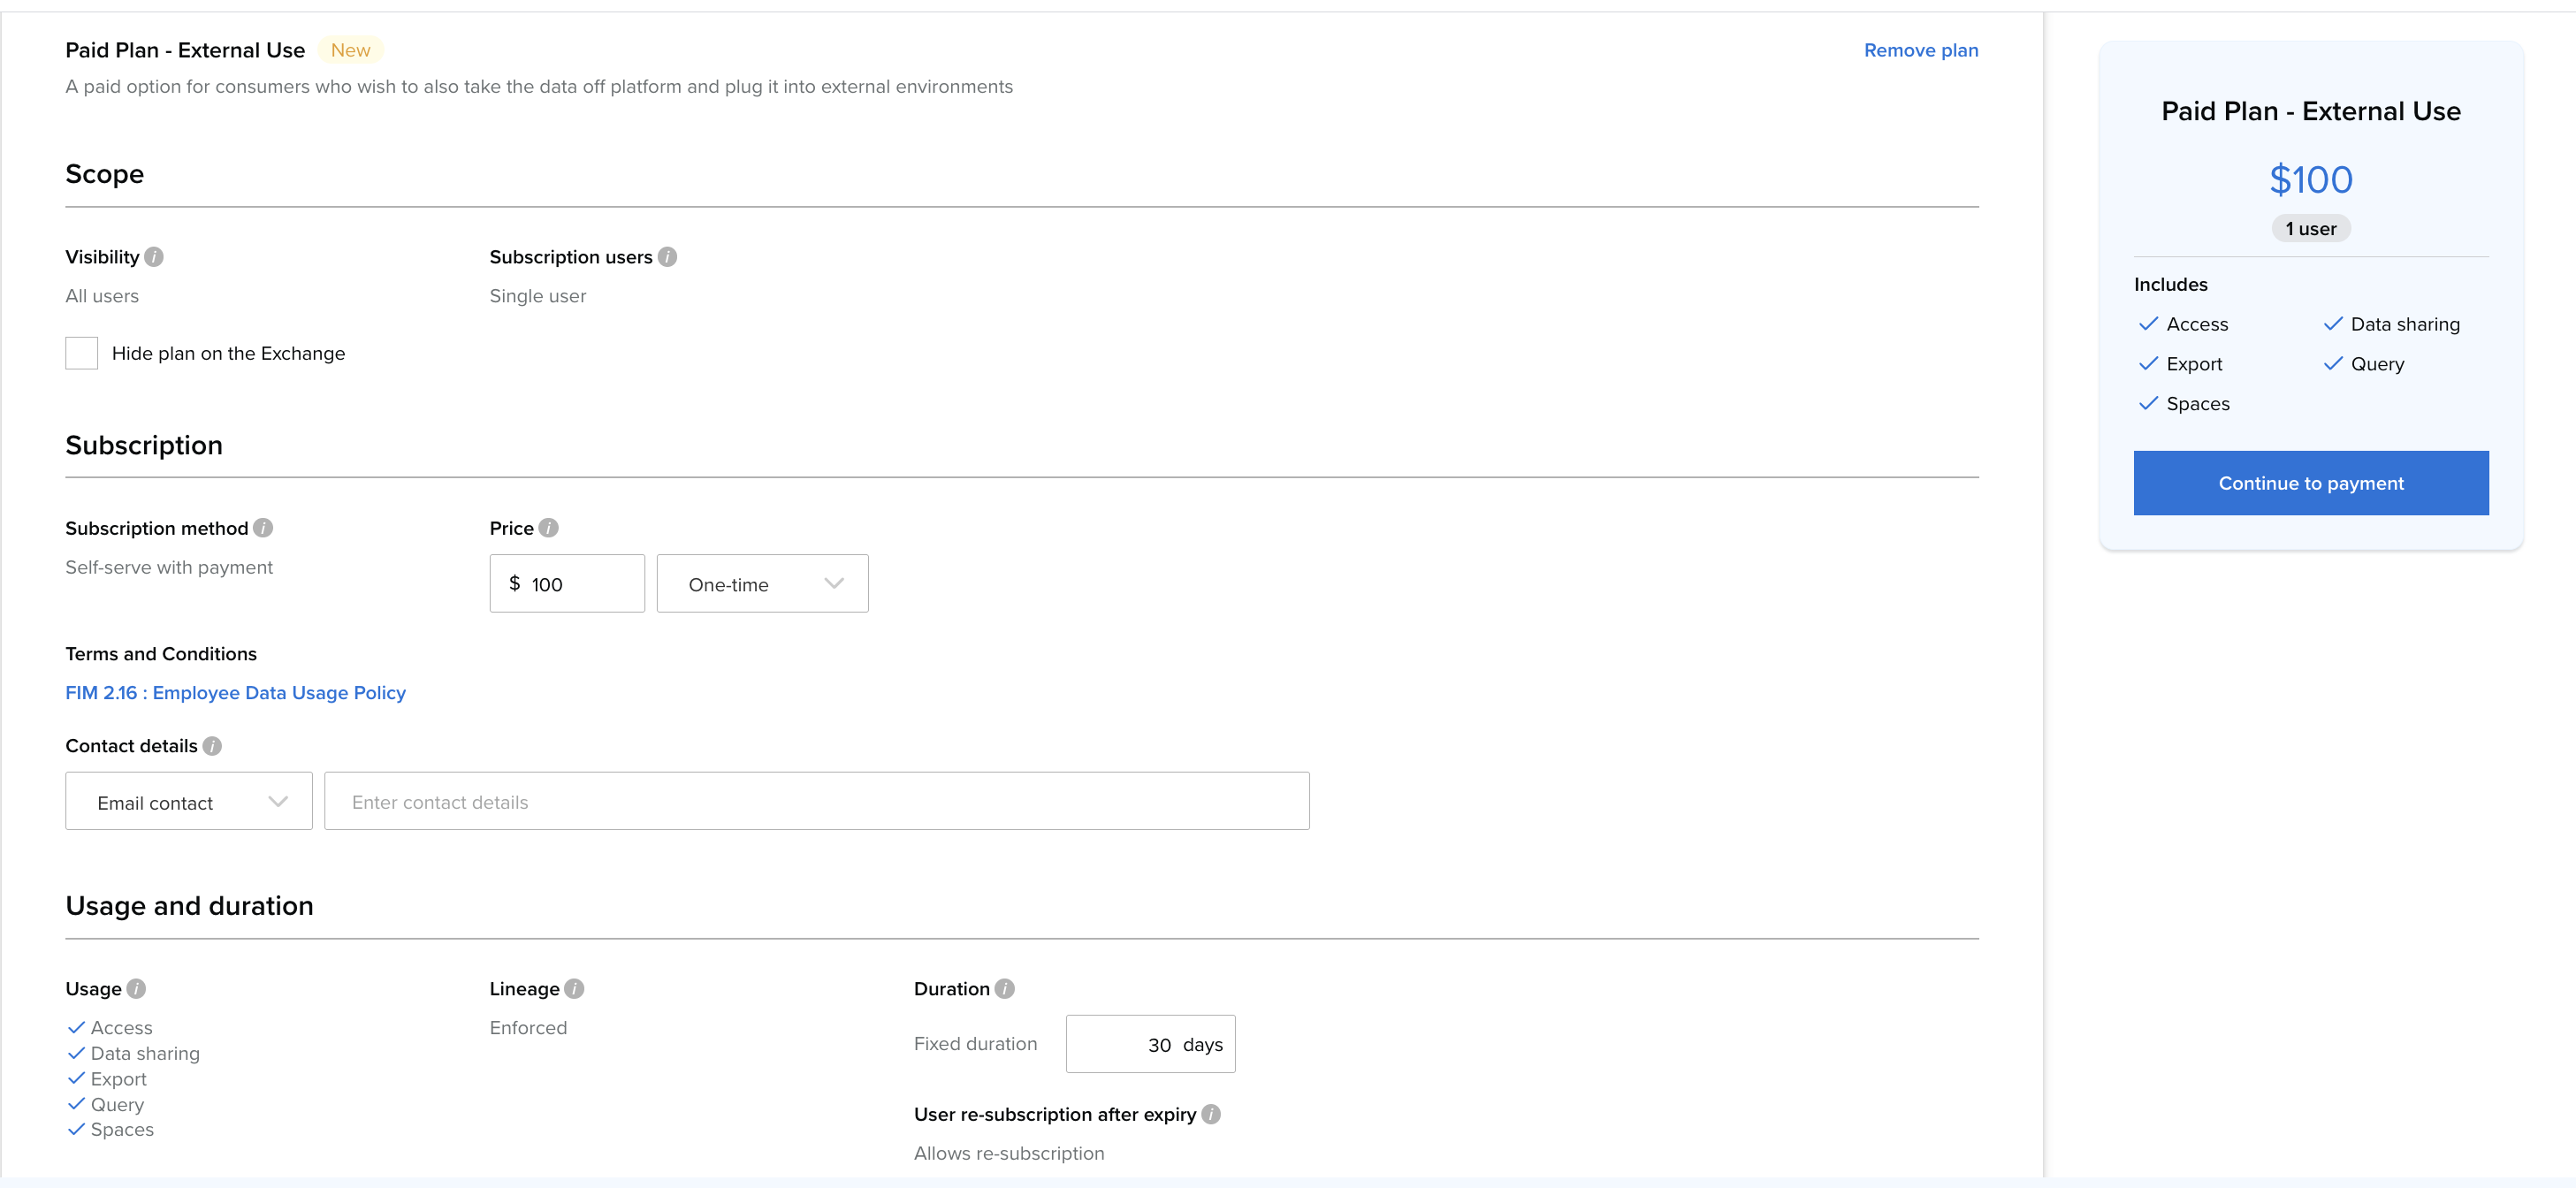
Depending on the plan type you may need to configure the pricing, duration or add contact information. You also get a view of the subscription card on the right side of the page.
-
Once the plans have been added and configured the producer can save and exit.
At least one Plan must be added to a Product for it to be released on the Exchange. This is the only non-optional step of the creation process.
Configuring Row and Column Filtering
When adding or configuring a Subscription Plan, you can now set specific row and column-level restrictions to determine the scope of data a consumer can access. This allows you to support multiple customer profiles (ICPs), audiences and use cases through configuration rather than duplication.
-
Row-Level Filtering: Restricts access to specific records based on conditions (e.g., "Only show data where Region = 'North America'").
-
Column-Level Filtering: Protects sensitive information by hiding specific fields (e.g., removing PII like Name or Social Security Number).
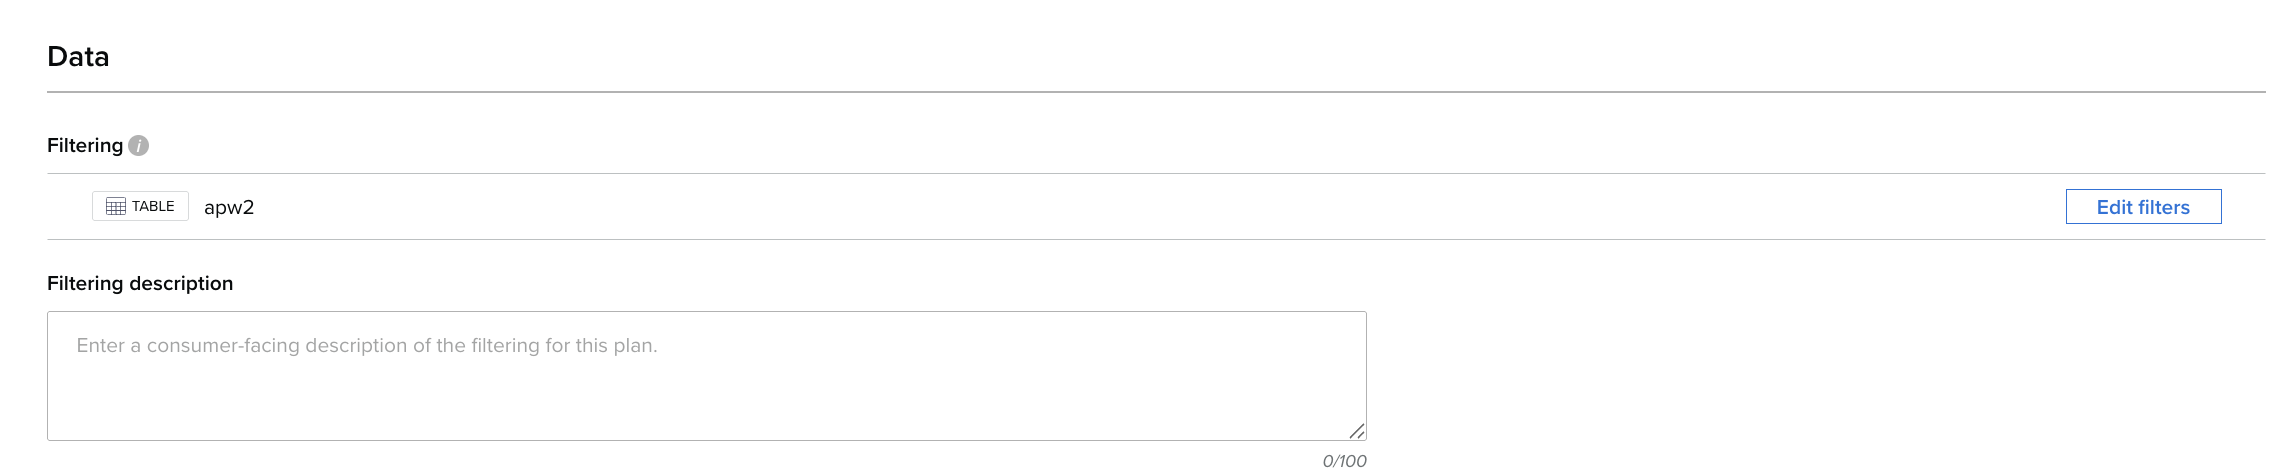
Once applied, plans with filtering will display a ‘subset’ chip on the product page to clearly identify restricted versions. You have the option to add a ‘Filtering description’ that will be visible to consumers when they are viewing the plan options.
Note: Consuming Assets accessed via Filtered Plans in Query and Spaces is not currently supported.
For best practice guidance on how to make use of data filtering across your product offering and organization, see the associated pages here.
Example Scenario
A producer publishes a data product that serves multiple audiences. Rather than creating three separate products, the producer creates one product with three access-based subscription plans.
Product: Customer Transactions
Core dataset:
-
Transaction ID
-
Customer ID
-
Date
-
Amount
-
Region
-
Customer demographics
Subscription Plan Options
1. Internal Analytics (Full Access)
-
Rows: All regions
-
Columns: All fields
-
Intended for internal data teams
-
Enables full analytical flexibility
2. Commercial Partners (Filtered Access)
-
Rows: Limited to specific regions
-
Columns: Transaction metrics only
-
Personally identifiable fields removed
-
Designed for external consumption
3. Executive Reporting (Restricted Access)
-
Rows: Aggregated or subset only
-
Columns: High-level metrics
-
Minimal schema, optimized for dashboards
Using Plan Filtering, consumers subscribe to a plan that matches their needs, and only receive the data they are entitled to. There is one product tile on the Exchange and clear visibility into available access options. Moreover, governance is applied once and enforced everywhere.
Build your plan whitelist with Custom Plan Visibility
Plan Visibility gives you granular control over who can discover and self-subscribe to specific plans within a product. Rather than making every plan available to every potential customer, producers can tailor their subscription options to match targeted business strategies.
Why is it useful?
-
Private Preview & Beta Testing: Test a new pricing model or plan structure with a small cohort of trusted users (or a specific organization) before rolling it out globally.
-
Bespoke Enterprise Pricing: Create customized high-tier plans intended exclusively for specific enterprise clients, completely hidden from your standard customer base.
-
Audience Segmentation: Show different pricing packages to different tiers of customers (e.g., Ideal Customer Profiles) to maximize conversion and streamline the purchasing journey.
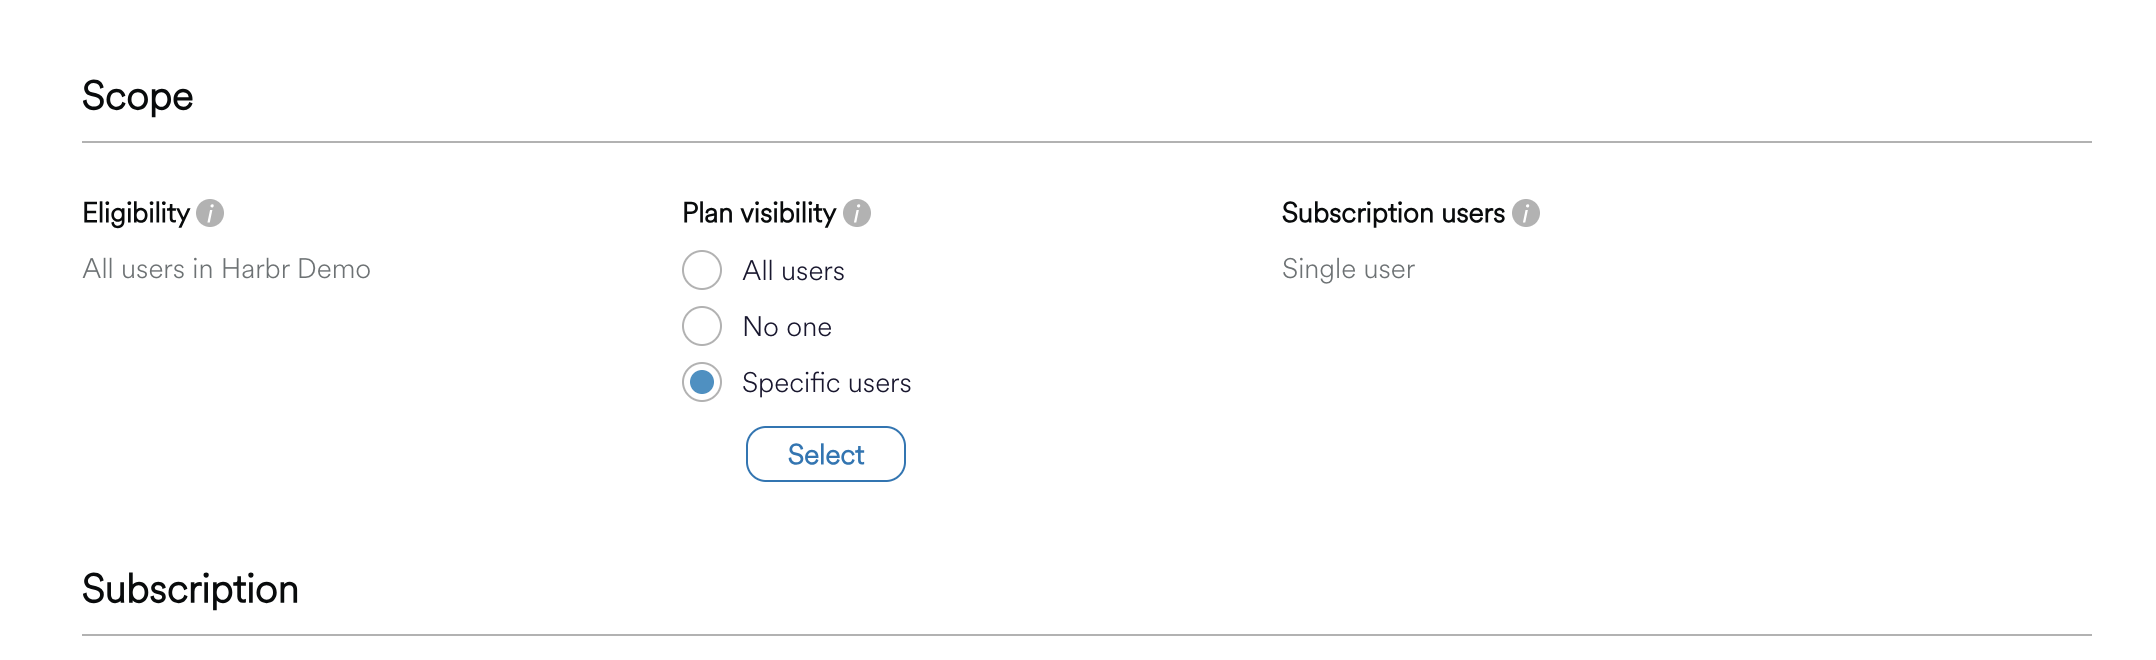
How to Configure Plan Visibility
Simply select “Specific users” under Plan visibility and click select, from there you can choose which Organizations or users can see this plan on the product page.
Key Scoping Rules & Limitations
-
Ecosystem Rules: You can only view and select organizations or users permitted by your platform interaction rules.
-
Exclusions: Service accounts are strictly barred from visibility whitelists.
-
Template Constraints:
-
Internal Plans: Limited to individual internal users; whole organizations cannot be selected.
-
External (Whole Organization): Limited to entire organizations; granular user selection is blocked.
-
External (Single User): Allows mixed selection of both individual users and entire organizations.
-
-
Admin Override: Visibility settings only restrict self-service discovery. A Subscription Administrator can manually assign a plan to any eligible user, bypassing the whitelist.
Existing active subscriptions remain completely unaffected even if the producer deselects them from the plan visibility later. The user can still access their data and see their active subscription under the product page. Once the subscription expires, the plan will disappear and they cannot re-subscribe.
Plan Visibility Hierarchy
Plan Visibility operates strictly as a restrictive whitelist-only tool within the platform's security hierarchy. It cannot expand permissions; a user will only see a plan if they satisfy all three layers in order:
-
Organization Interaction Rules: The user’s organization must be permitted to interact with yours.
-
Product Availability: The core product must be visible to the user.
-
Subscription Eligibility: The user must meet the template-level criteria (e.g., Internal vs. External).
If a user is blocked by any of these upper layers, setting Plan Visibility to "Everyone" or explicitly adding them to the whitelist will not grant them access.
Subscription Plan Flexibility
Row and Column Filtering and Custom Plan Visibility can be used independently, but they are most powerful in combination.
Row and Column Filtering controls what data a Plan exposes - restricting a product to a defined subset of rows and columns that is enforced consistently across Exports, Delta Sharing, and Spaces. Custom Plan Visibility controls who can discover and self-subscribe to that Plan, allowing you to scope it to specific organizations or individual users rather than your whole organization or the entire Exchange. Used together, these two settings let a single core product serve many audiences: each Plan defines both a tailored view of the data and the precise audience entitled to see that Plan exists.
This unlocks highly targeted subscription models without duplicating products. For example, you might offer a filtered Plan containing only European transaction records, visible exclusively to a named partner organization; a PII-free Plan available to all external consumers; and a full-access Plan restricted to internal analysts. You can also run scoped pilots, pairing a limited date range or single-region filter with visibility for a handful of trial users, and later widen visibility or offer an upgrade path to a fuller Plan once value is proven. Because both the data scope and the audience are defined at the Plan level, bespoke commercial arrangements stay confidential, consumers only see Plans relevant to them, and you avoid the product sprawl that comes from maintaining near-identical product listings for different audiences.
Applying Plans with Embedded Payment
If a Paid Subscription Plan allowing self-service payments has been created for your Organization, you will be able to select it from the ‘Plans’ section of your product creation journey.
These Plan options all potential consumers on your Data Products a frictionless consumption journey where browsing, payment, and data access can securely occur within a single, continuous session.
Using the functionality requires the deployment of an integration that interfaces with your Organization’s designated payment gateway provider. If you are interested in having these Plan options available, speak with your Platform Administrator or Harbr Account Manager.
-
If configured, you will see an option in the Subscription Plan packaging steps to add a Plan Template with the Subscription Method ‘Self-serve with payment’.
-
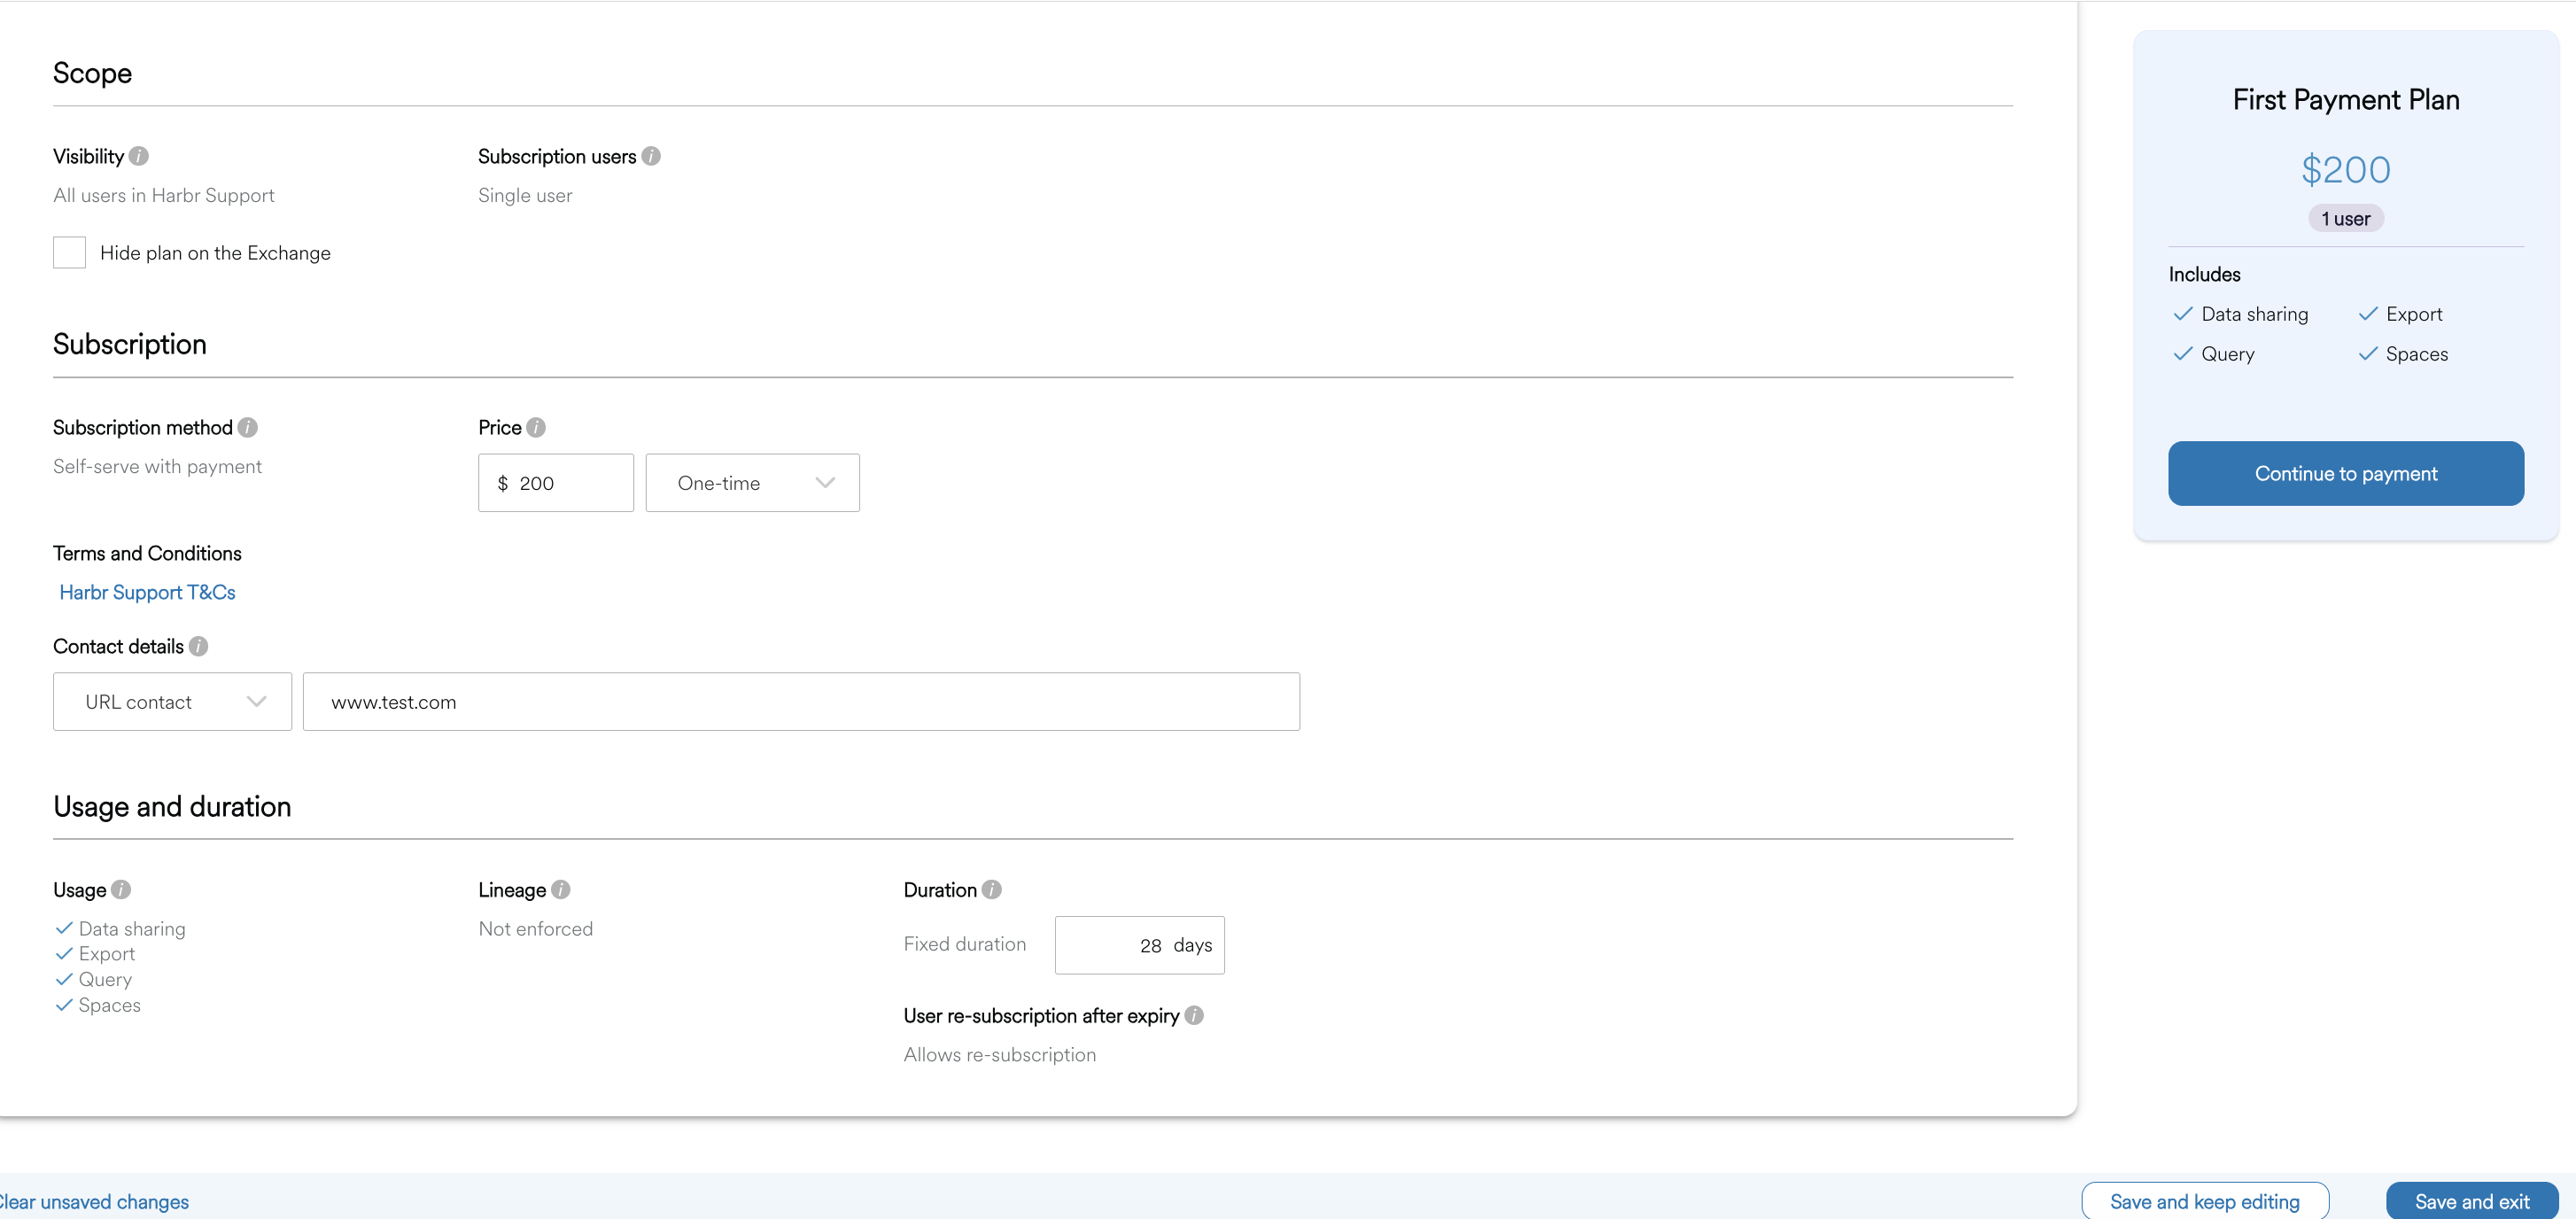
After selecting the tickbox, you may set the specific parameters of the Plan for your consumers subscribe to (ie price, timing of payment).
-
Price: Add a billing indicator:
One-time - Show price as a single payment
Monthly - Show price as billed monthly (/mo)
Yearly - Show price as billed yearly (/yr) -
Duration: For a fixed duration plan, the subscription will expire automatically after the specified time period.
-
User Re-subscription: The template will specify whether consumers are allowed to re-subscribe after expiry. For Plans intended for trials, this will likely not be the case.
-
Click save and exit, before continuing on to configuring your visibility settings.
Product Visibility
The Visibility setting determines who can view and explore the Product on the Exchange. You may want to limit the scope of the visibility setting if you want to test your Product with selected Users for example. Consumer may choose to subscribe to a Product that is visible on the Exchange.
-
Click on Set Visibility
-
Select the appropriate visibility setting
-
No users have visibility for this Data Product
-
Selected users have visibility for this Data Product
-
Search for and select one or more individual users
-
-
Selected organizations have visibility for this Data Product
-
Search for and select one or more organizations
-
-
All organizations have visibility for this Data Product
-
-
Open Page Visibility: Open Pages provide a public-facing view of specific products. When a user interacts with a product, they are redirected to a restricted view rather than the full product page. If you want this enabled select “Open” under the Open page visibility heading.
-
Click Save and Exit to commit the visibility setting.
Note: Your User and Org visibility and the Open page visibility are independent. For example, you can select “All Organizations and Users have visibility for this Data Product” while setting the Open page visibility to “Not Open”.
Integration Metadata
Applying integration metadata enables integration with some external processes or information that can be invoked using a specific Key Value pair. The integration metadata will never be visible to consuming users.
-
Click Enable Integrations
-
Click + Add integration metadata
-
Insert
-
Key - this is a string
-
Value - this is a string
-
-
Click Save and Exit to commit the key value pairs.
Once a product is created, will be taken to the Product Overview page. You must release the Product for it to be seen or interacted with by Consumers. Only users with Manage permissions for the product are able to access the overview page and apply any changes.