Spaces are secure, on-demand environments that bring together people, tools, data, and models to support safe collaboration and the development of data products and services.
Each participant in a Space has access to their own isolated compute environment, and data can be shared securely with other users. Spaces can also run tasks in the background, enabling automation and continuous data processing.
For a comprehensive overview of Spaces and its value on your Harbr platform, please see the dedicated guide here.
Create a Space Specification
You can specify the people, tools and compute you want to work with by creating a Space Specification.
We recommend you create a separate Space specification for each piece of work you undertake so you minimize the number of data products in your Space to avoid any potential issues related to subscription lineage or expiration. Subscription lineage is enforced for any data product that has ever been included as part of the space specification.
To access a space, Collaborators must have a Spaces, Spaces and Export or Spaces Export and Query, subscription to all data products within the Space.
-
Click on the Spaces icon on the navigation bar.
-
Click Create Space.
-
Enter a Name
-
Enter a Description (optional)
-
Select the Space Type from a pull down list that have been provided by the platform owner and is auto-provisioned with a number of industry standard data science tools.
-
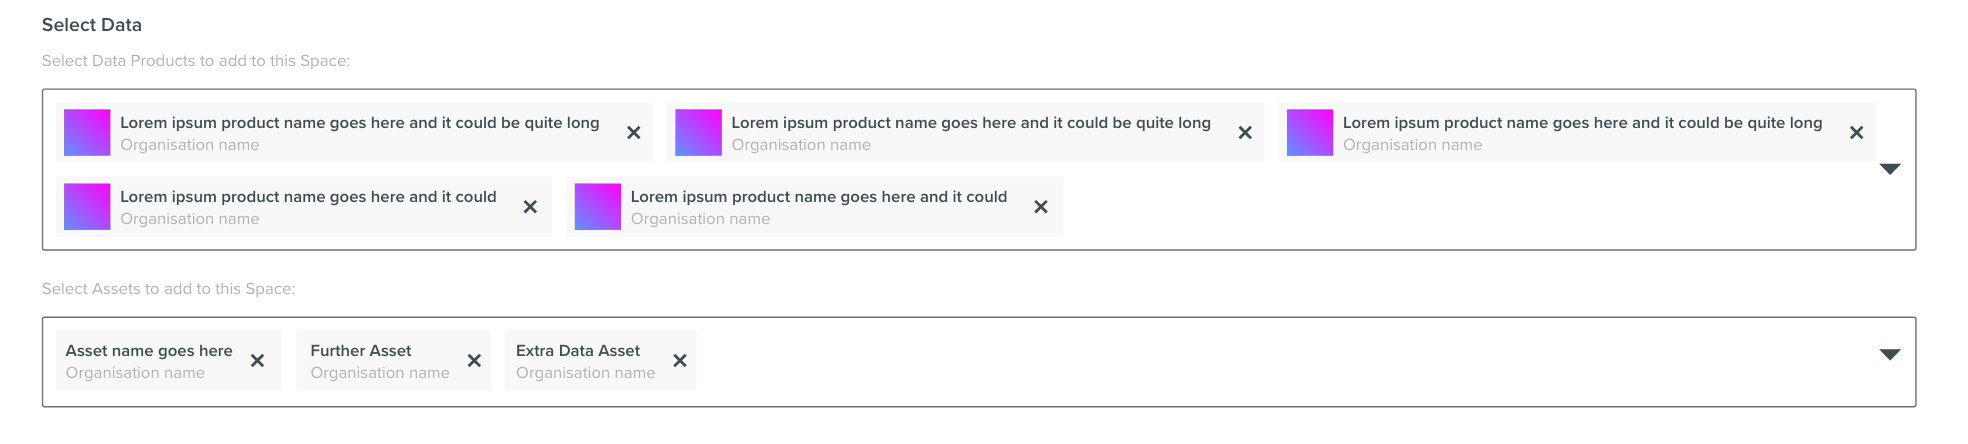
Select the Data data products you need:
-
Data Products provides a list of all data products to which you have a suitable subscription plan
-
Data Assets provides a list of all Data Assets which you have permission to use. This is only visible if the feature has been enabled by your Platform Owner.
-
-
Select Collaborators who can access the Space from a pulldown list.
-
Click Create - it takes just a couple of minutes to configure your space specification.
-
-
Go to the Invites tab to accept or reject invitations to a Space to which you have been invited.
Now you are ready to active a session, as defined in your space specification.
Edit a Space Specification
-
Click on the Spaces icon on the navigation bar or from with your Secure Desktop
-
Click on the Spaces tab.
-
Choose a grid or list view and filter the display to show
-
All - all space specifications
-
Owner - where you are the owner of the Space specification
-
Collaborator - where you are a collaborator within the Space specification
-
-
Click on the required Space Specification.
-
Go to the Details tab.
-
Click on Edit Details.
-
Enter a Name
-
Enter a Description.
-
Click Save.
-
-
Click on the Collaborators tab.
-
Click on Edit Collaborators to add or remove collaborators
-
-
Click on the Data tab.
-
Click on Edit Data to add or remove products and/or data assets.
-
Delete a Space
-
Click on the down arrow on the right hand side:
-
Click Delete - This action deletes the Space for all collaborators involved, any unsaved progress is lost and any running processes are stopped. This action cannot be undone.
-
Confirm by clicking Delete.
-
Activate a Space
Analyse your data using the on-platform tools by activating a session pre-defined by your Space specification. You can have one active Space session at a time.
-
Click on Spaces in the Navigation Bar.
-
Select the Space Specification you would like to activate and click the blue Activate button.

-
As the tools become active, they will change in colour and display from Waiting to Launch. You are shown the estimated time for the Space to activate.
-
Activation starts the compute environment and loads the tools and data you specified.
-
Each activation spins up a new cluster, while database tables persist.
-
If it is a cold start, this process takes approx. 8 mins. If the cluster pool is ready, approx. 3 mins.
-
-
Click on the tool you would like to use for your analysis once it becomes active.
-
Enter any required login credentials to use the tool.
Suspend a Space
It is good practice to suspend your Space when you are not using it to reduce platform costs. It is quick and easy to restart your Space and none of your work will be lost.
It takes about a minute to suspend your Space. Depending on your platform configuration, your Spaces may automatically shutdown after a period of inactivity.
-
Exit a tool if you are using one by closing out the tab.
-
Click Suspend.
-
Wait for status to say 'suspended'
-
Close the Secure Desktop (if necessary)
-
Close the Virtual Desktop
-
Click 'Yes' if you want to End Session.
Remember: If you suspend a collaborative space it is only suspended for you and not for any of your collaborators.